
The Process

All my turned pieces start from a solid block of wood. While the lathe spins the wood, I shape the object by guiding various turning chisels to remove unwanted mass. I use two basic turning techniques, spindle turning and faceplate turning, to create shapes from the block of wood. In spindle turning the grain of the wood is parallel to the lathe bed, while in faceplate turning, the wood grain is perpendicular to the bed of the lathe.
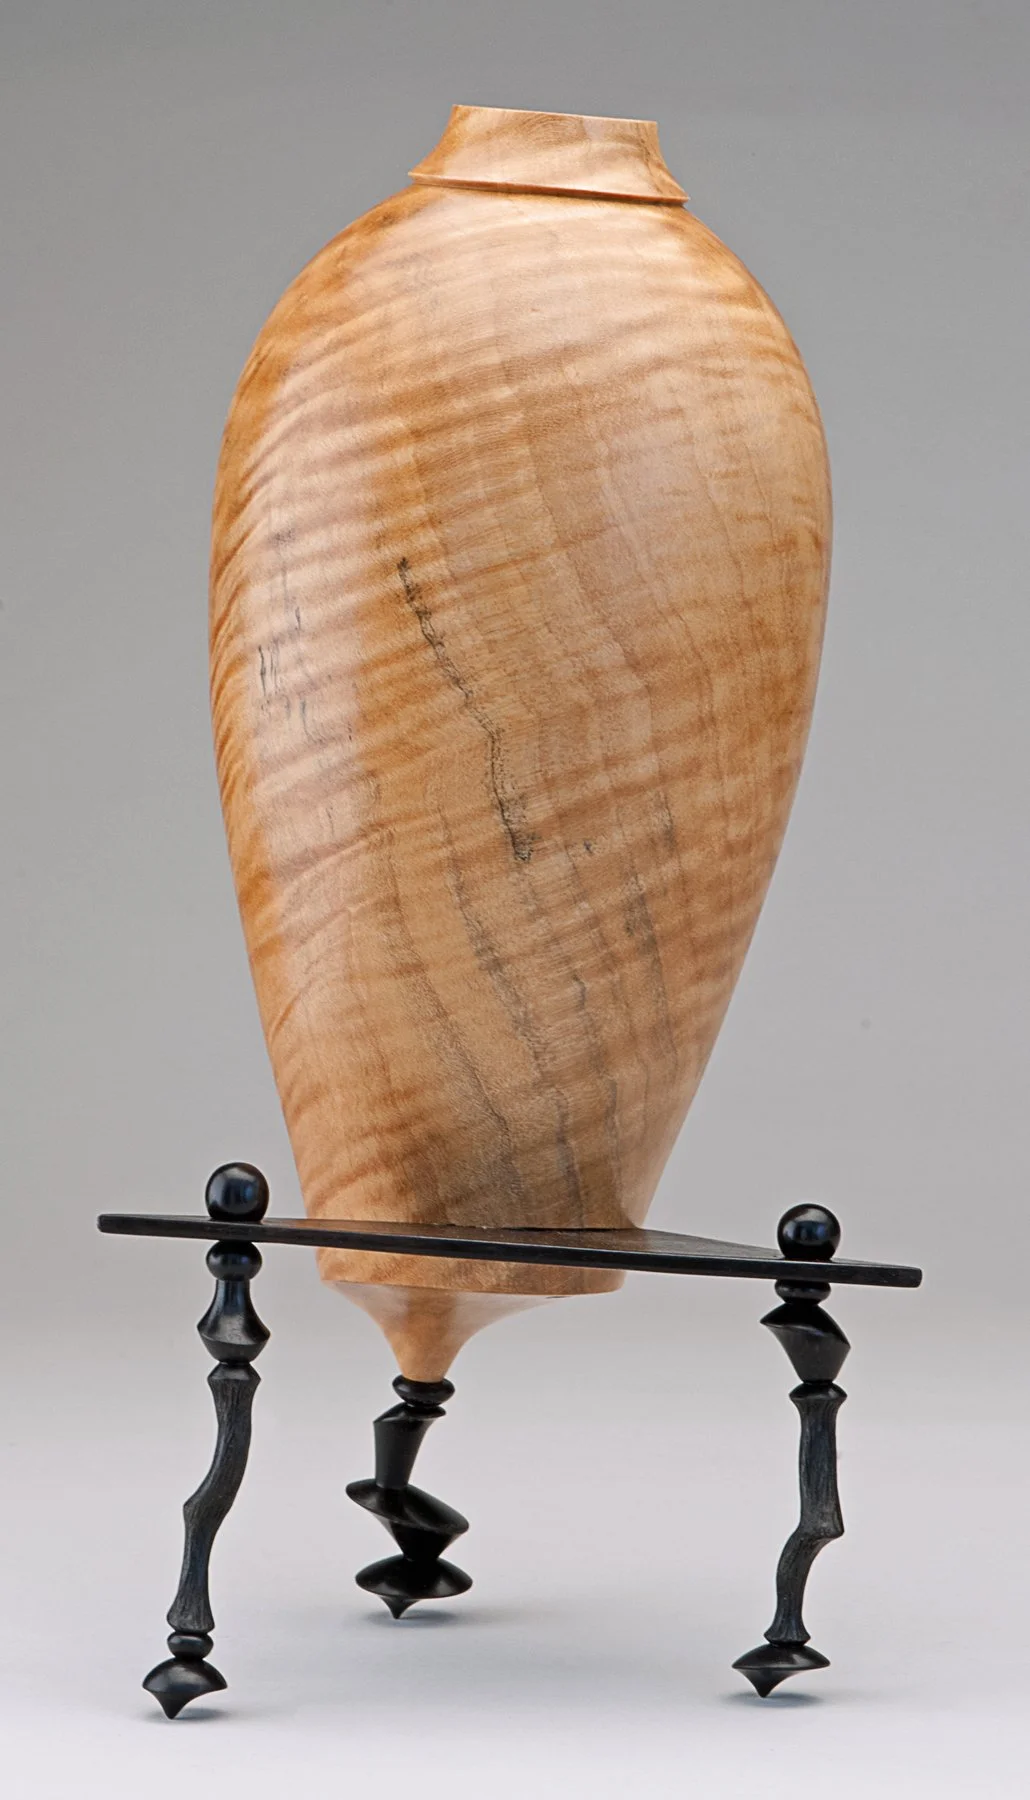
Beyond basic woodturning, I use several additional techniques to add individuality and life to each piece. For example, with eccentric turning, I turn a single piece of wood multiple times, using a different axis each time. I use this method often to create a unique shape for finials and sculptural forms.
I enhance some forms with what I have named slanted symmetry. Using this technique, I insert a slanted, segmented ring which joins two hollowed forms into a whole angled shape. The added ring can be of varying woods, finishes or color.
Along with segmented rings, which I have used to make complete products, I, somewhat arbitrarily, glue together woods of various colors, shapes, and sizes to make boxes and other products. I take much time and care in this assembly process to make sure the colors and sizes of the wood complement each other. This technique is used regularly.
Wood stabilization is another process I use often. The basic principle of wood stabilizing is to take a piece of soft or punky wood and infuse it with resin to create a stable, hardened wood blank that is safe to turn. The resin displaces air pockets throughout the grain structure, creating a dense blank that is nearly impervious to moisture changes and can be polished to a high gloss.
Another embellishment technique called green turning or wet turning requires freshly cut wood to be turned to its final shape and thickness. As this green turned wood dries, it shrinks and moves in somewhat predictable and not entirely controllable ways. Depending on factors in the wood, i.e. moisture content, presence of knots, crotch wood or burl wood, the shrinkage can warp, twist, crack, or split open the original shape. The surface may also develop a wrinkled or fuzzy texture.
My pieces get finished with a visual texture of color from paint, ink, bleach, or added materials. I sometimes sand blast surfaces and carve the wood for a tactile surface texture. I may add eccentric finials and legs to some pieces.